Hey y'all!!
I am so sorry I have been MIA for this long. Between enjoying the end of summer and back to school set up and professional developments, I have been swamped. I love seeing all of your classrooms on Instagram! Here is a sneak peek into my first grade classroom.

This is the view when you first walk into my classroom. I have 5 "teams" or table groups. Although I am super interested in the whole flexible seating thing, I just don't feel ready for it and I don't have enough money to do it! Desks are free so I'm sticking with them for now. Another reason I love having desks is so that I can use all the fun Kagan cooperative learning strategies. I have their numbers and letters on their desks so they can easily remember their roles (Check out http://brownbagteacher.com/kagan-cooperative-learning/ for more information on the strategies)


Here is our classroom sink and lots of great storage! Check out those amazing long skinny drawers!!! They fit the many big books, anchor charts, and posters perfectly! The bins on the top have extra, lost, broken crayons sorted by color to help the kids find what they need quickly Their classroom jobs are displayed on the left and their birthdays on the right (I still need to add candles with their name and birthday date). The bright bins at the top is where I store all of our math centers.

This area is where we have our shared bathrooms (it connects to another first grade classroom). I keep all of our math manipulatives in organized and labeled bins so that the kids can access the tools that suit their needs. In front of the window is our work on writing station. There is a variety of lined paper and in the drawers are really fun activities I got from Seusstastic's TPT store.

Next to our work on writing station, I have this shelf (it's actually a really old Kindergarten shelf that used to store blocks and I just took the backing off) that holds our math centers. I am in love with the BUILD system (Buddy games, Using manipulatives, Independent work, Learning about numbers through books or technology, and Doing math). I color code my kiddos based on their class numbers (1-6 pink, 7-12 yellow, 13-18 blue, 19-22 green) so these bins match their class color. They store their writer's notebooks and science notebooks. Also, did you see this amazing striped wall?!!? I saw it on "The Trendy Teachers" Instagram about a year ago and decided to try it. All it is is butcher paper staple to the wall!! I am obsessed with it :)

This is my little corner. The closet is where I keep all of my week's materials in bins label with the days of the week. If you zoom in, I also have an extensive collection of gel pens on top of my filing cabinet. I keep all of my teacher tools in easy access bins on the short filing cabinet and some on my black cart. Sadly, I do not have an innovation station and have to manually plug about 3 cords in every. single. time. I want to use technology in the classroom. Luckily, my kiddos are usually very patient during this tedious process. The grey and white bin on my black cart is where I keep my teacher examples and notebooks to easily grab and show on the document camera.

This is my favorite view of my classroom!! I LOVE the schedule card circles. I wrote the exact start and end time for each. The bins on top of the bookshelf are the student turn in bins. They turn their work in to the color bin that corresponds with their class color. The book bins below follow the same color coded system in place all throughout my classroom. It really was just a way I could call students in groups (other than boys/girls, evens/odds, table 1-5, etc.) and it works really well for me! To the right you can see the start of our class library area. I have the waterfall shelf that I change out almost weekly (unless I forget, which let's be real, happens a lot!) that the kiddos can look at in the morning when the enter the classroom or if they finish early and want to browse a book.

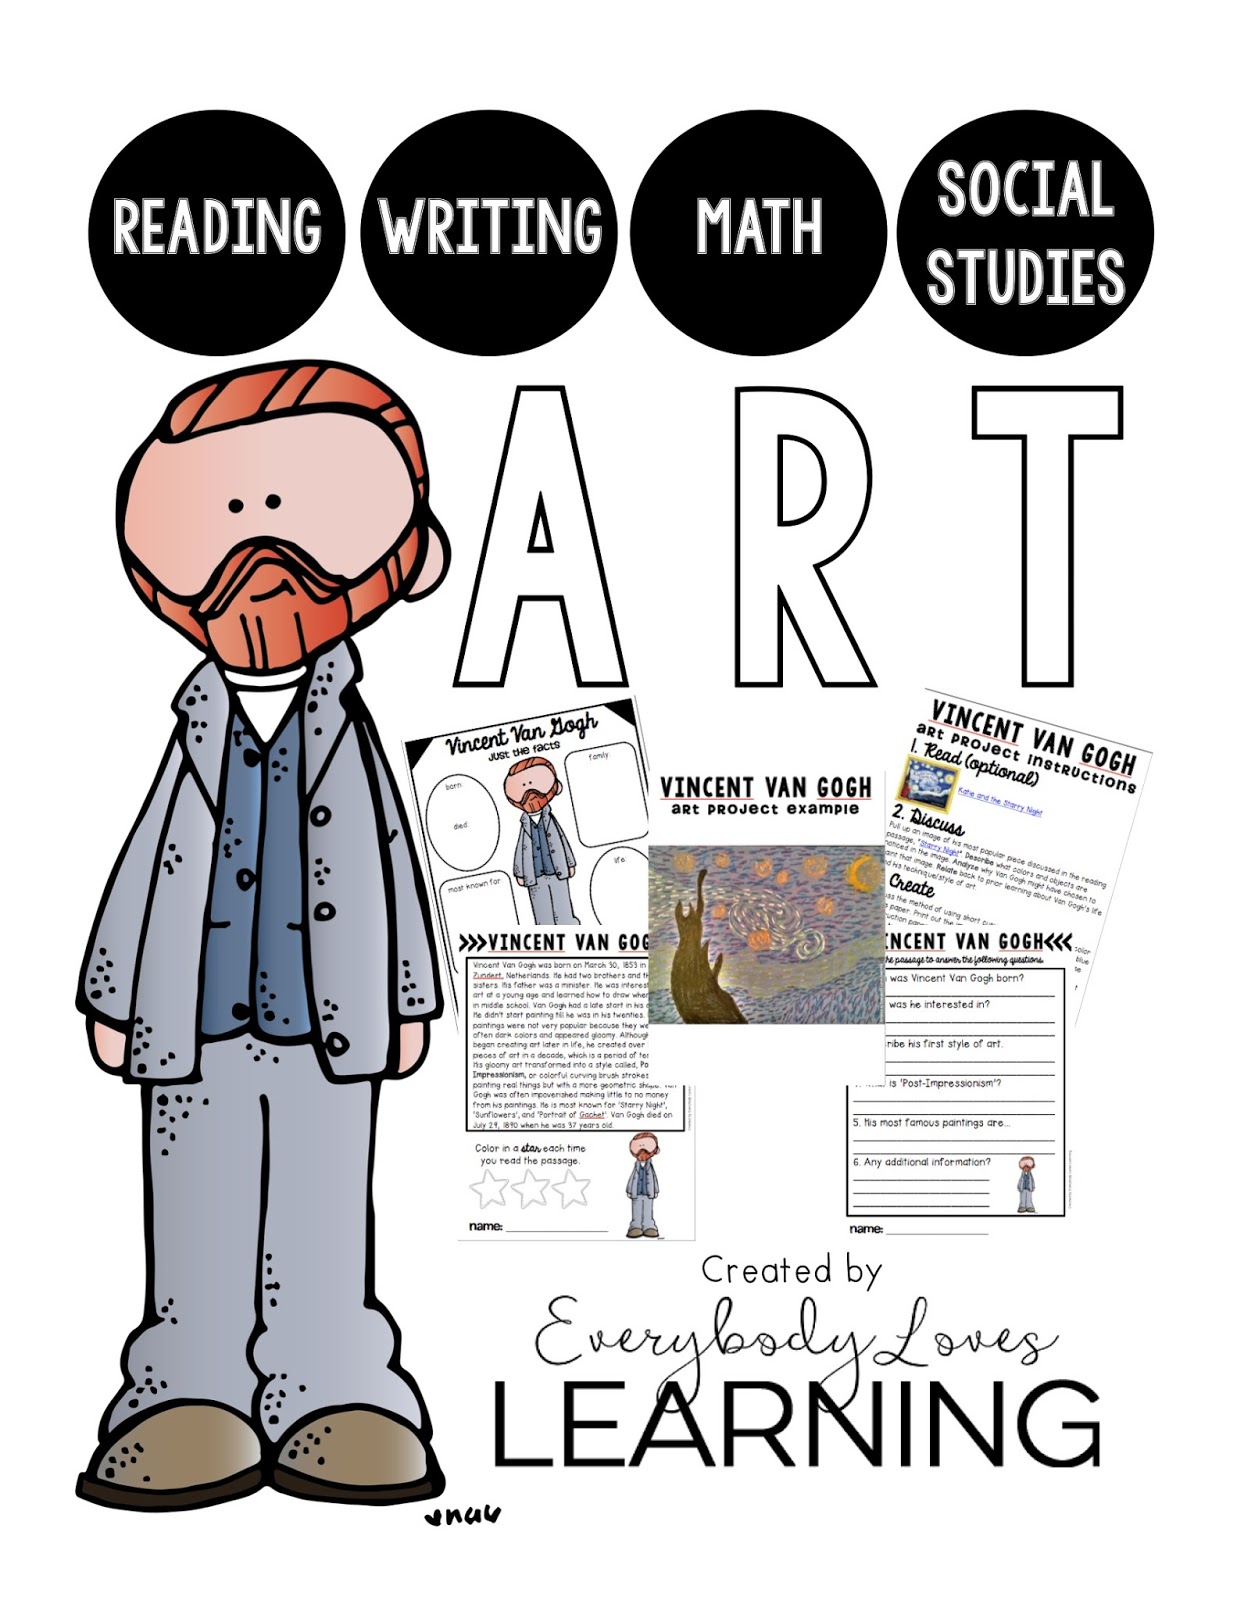
This board is where the students select their centers for literacy and find their center for math. Again, here are the pink, yellow, blue, and green colors that correspond with their class number and color. I do the Daily 6. I follow most of the Daily 5 methods, mixed with a little bit of the classic literacy centers, but I add a visual arts center because our campus is part of the Creative Learning Initiative. The art center is one of my favorites which is why I designed my newest best seller https://www.teacherspayteachers.com/Product/Artists-and-their-Works-of-Art-2603797
to be a part of our daily literacy centers. I usually have a famous artist of the week and the kiddos get a chance to replicate their work. They don't choose their center for math, I have each table go to each center each week. I chose to manage their centers because at each table I have a high student, a medium-high student, a medium-low student, and a sweet and low (Thanks Cara Carroll for this super cute term!) This is a great way for them to interact with each other during math and ask questions or give compliments.

Our class library and calendar area! I got a new rug this year and am loving how it ties my class colors together. I had a solid purple one free from the district last year but yogurt was spilled 4 times last year and stained it. Now we eat our snacks at our desks instead of on the carpet.... lesson learned! I have my library leveled by DRA levels (come to find out that this year our district is doing a different reading assessment instead of DRA that uses Lexile ranges---if any of you understand Lexile ranges then please let me know!)


0
I am so sorry I have been MIA for this long. Between enjoying the end of summer and back to school set up and professional developments, I have been swamped. I love seeing all of your classrooms on Instagram! Here is a sneak peek into my first grade classroom.

This is the view when you first walk into my classroom. I have 5 "teams" or table groups. Although I am super interested in the whole flexible seating thing, I just don't feel ready for it and I don't have enough money to do it! Desks are free so I'm sticking with them for now. Another reason I love having desks is so that I can use all the fun Kagan cooperative learning strategies. I have their numbers and letters on their desks so they can easily remember their roles (Check out http://brownbagteacher.com/kagan-cooperative-learning/ for more information on the strategies)

This is the first thing you see when you walk in the door. These cubbies store all of their textbooks and other things that we don't use everyday. I wrote the word that matches their class number so they start identifying the number word. The black bin is where I put anything I want parent volunteers to help with. I like having it right by the door so they can grab and go quickly. I also keep a binder with post-its and paper so parents are able to communicate with me without disrupting the class. The small drawers store all the sizes of bandaids. The whiteboard calendar is where I write our monthly special areas schedule. The filing cabinet holds all of our activities that the kiddos may choose from during our 10 minute "Quiet Time" at the end of every day, a strategy from Responsive Classroom. I'm slowly collecting items for STEAM projects!! These will also be stored here for kid-friendly access.

This is my guided reading area. I love having it in front of the word wall so that the kiddos have easy access to our first grade sight words that we add to the wall as we learn them. The book shelf stores all of my leveled readers and tools that the kiddos use during small group. Did anyone notice the incubator at the top of my closet space? Our grade hatches chicken eggs during our life cycle unit in the spring! Lots of magic happens at this table :)

Here is our classroom sink and lots of great storage! Check out those amazing long skinny drawers!!! They fit the many big books, anchor charts, and posters perfectly! The bins on the top have extra, lost, broken crayons sorted by color to help the kids find what they need quickly Their classroom jobs are displayed on the left and their birthdays on the right (I still need to add candles with their name and birthday date). The bright bins at the top is where I store all of our math centers.

This area is where we have our shared bathrooms (it connects to another first grade classroom). I keep all of our math manipulatives in organized and labeled bins so that the kids can access the tools that suit their needs. In front of the window is our work on writing station. There is a variety of lined paper and in the drawers are really fun activities I got from Seusstastic's TPT store.

Next to our work on writing station, I have this shelf (it's actually a really old Kindergarten shelf that used to store blocks and I just took the backing off) that holds our math centers. I am in love with the BUILD system (Buddy games, Using manipulatives, Independent work, Learning about numbers through books or technology, and Doing math). I color code my kiddos based on their class numbers (1-6 pink, 7-12 yellow, 13-18 blue, 19-22 green) so these bins match their class color. They store their writer's notebooks and science notebooks. Also, did you see this amazing striped wall?!!? I saw it on "The Trendy Teachers" Instagram about a year ago and decided to try it. All it is is butcher paper staple to the wall!! I am obsessed with it :)

This is my little corner. The closet is where I keep all of my week's materials in bins label with the days of the week. If you zoom in, I also have an extensive collection of gel pens on top of my filing cabinet. I keep all of my teacher tools in easy access bins on the short filing cabinet and some on my black cart. Sadly, I do not have an innovation station and have to manually plug about 3 cords in every. single. time. I want to use technology in the classroom. Luckily, my kiddos are usually very patient during this tedious process. The grey and white bin on my black cart is where I keep my teacher examples and notebooks to easily grab and show on the document camera.

This is my favorite view of my classroom!! I LOVE the schedule card circles. I wrote the exact start and end time for each. The bins on top of the bookshelf are the student turn in bins. They turn their work in to the color bin that corresponds with their class color. The book bins below follow the same color coded system in place all throughout my classroom. It really was just a way I could call students in groups (other than boys/girls, evens/odds, table 1-5, etc.) and it works really well for me! To the right you can see the start of our class library area. I have the waterfall shelf that I change out almost weekly (unless I forget, which let's be real, happens a lot!) that the kiddos can look at in the morning when the enter the classroom or if they finish early and want to browse a book.

This board is where the students select their centers for literacy and find their center for math. Again, here are the pink, yellow, blue, and green colors that correspond with their class number and color. I do the Daily 6. I follow most of the Daily 5 methods, mixed with a little bit of the classic literacy centers, but I add a visual arts center because our campus is part of the Creative Learning Initiative. The art center is one of my favorites which is why I designed my newest best seller https://www.teacherspayteachers.com/Product/Artists-and-their-Works-of-Art-2603797
to be a part of our daily literacy centers. I usually have a famous artist of the week and the kiddos get a chance to replicate their work. They don't choose their center for math, I have each table go to each center each week. I chose to manage their centers because at each table I have a high student, a medium-high student, a medium-low student, and a sweet and low (Thanks Cara Carroll for this super cute term!) This is a great way for them to interact with each other during math and ask questions or give compliments.

Our class library and calendar area! I got a new rug this year and am loving how it ties my class colors together. I had a solid purple one free from the district last year but yogurt was spilled 4 times last year and stained it. Now we eat our snacks at our desks instead of on the carpet.... lesson learned! I have my library leveled by DRA levels (come to find out that this year our district is doing a different reading assessment instead of DRA that uses Lexile ranges---if any of you understand Lexile ranges then please let me know!)

This is the teacher bookshelf. The kiddos are not allowed to browse these books. These clipboards hold our super scottie work. What else was I going to put on the cinder blocks?! I used Command permanent squares and they have held up for 3 years now without ever being replaced. The computers are used during our Daily 6 and BUILD math centers. The yellow iPads are brand new!! The district did a technology bond roll-out at the end of last school year and provided many campuses with a 3-1 technology choice. I can't wait to get started on projects!!
And that's it y'all! We've gone full circle and ended up back at the door. Thanks so much for taking the time to take the tour my first grade classroom. Comment below if you have any questions!